


You’ve done all the research and legwork and spent a pretty penny to get yourself the best-LED headlights or light bar available for your 4×4. Now you’re ready to hit the road or trail to put those babies through their paces. The blinding light is everything you hoped for. A bright beam or arc that can be seen from the International Space Station, illuminates everything in its path as you hurtle along country highways, or power through the bush. Additionally, let’s be honest, your vehicle now also looks spectacular for the new addition.
As the city lights fade into the rear-view mirror, your new additions come into their own, piercing the darkness. The exhilaration mounts as the landscape rushes past and the engine hums. Suddenly, there is a disconcerting clunk, and everything goes that much darker as you realise that you’re down to just your factory headlights. You stop the car and cautiously exit to investigate. Your heart drops as you discover that your beloved lights are nowhere in sight. What’s left of your bracket tells you all you need to know about your light’s fate; most likely strewn across the road or landscape in a million pieces.
You might think this story is a bit fanciful, but it’s closer to fact than fiction than you might think. For any off-road enthusiast, spending time, money and effort installing aftermarket LED lights can be an incredibly rewarding way to enhance your experience. However, the finest quality LED light bar is not much use to anyone if it’s secured with substandard brackets or fixings that fail when you hit high speeds or rough terrain. The last thing any off-roader wants is to see their investment go down the gurgler due to poor-quality components. Worst of all, many warranties don’t cover broken brackets or mounts, which can leave you seriously out of pocket. To avoid this sad fate, let’s look at how to choose the best fittings for your LED headlights or light bar:
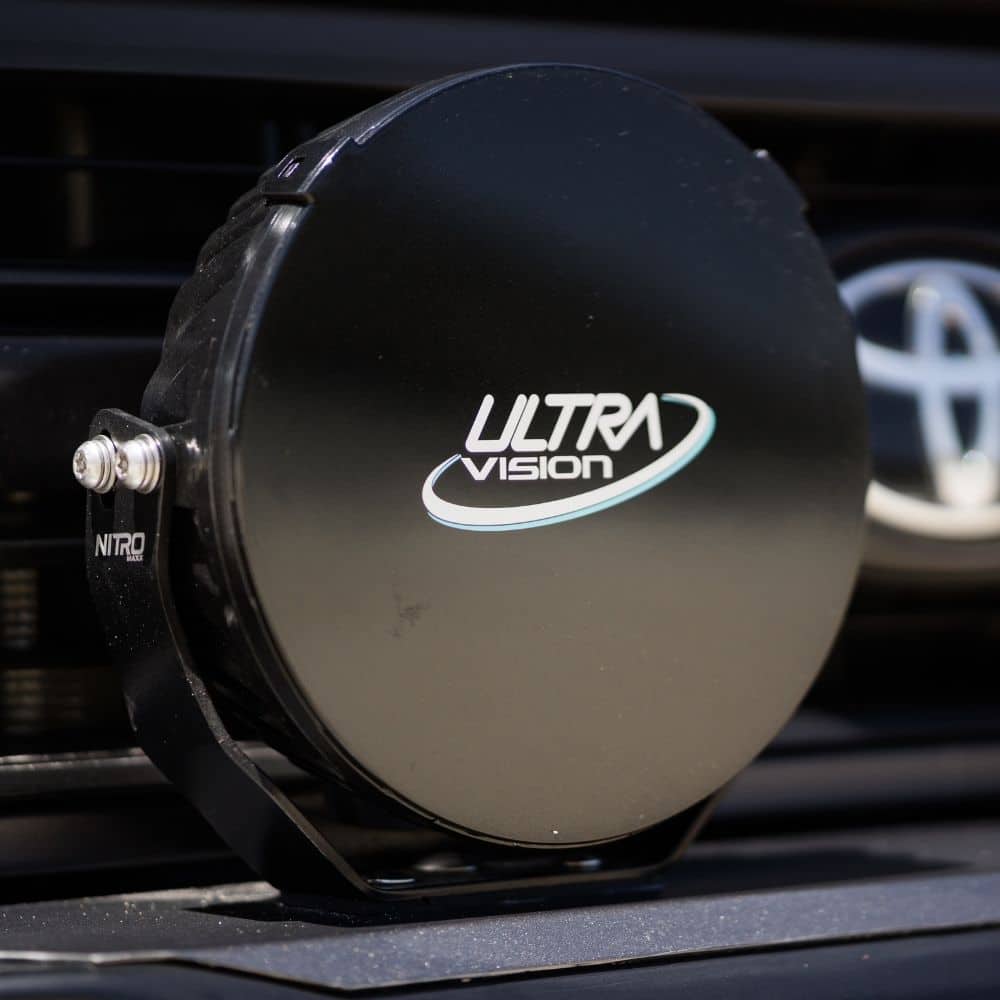
Brackets
Every manufacturer has their own mounting system for their lights, so it’s worth understanding a little bit about these so that you know what you are getting for your money. Most brackets are made with one of the following materials:
- Mild/Powder Coated Steel: a lightweight option that works just fine for light lamps, but not so much for heavier units or in harsh terrain. These are notorious for breaking or rusting at the drill-through point.
- Plastic: No rusting, lightweight and relatively durable. However, depending on the design and quality of the material, some varieties can be too flimsy to withstand what you throw at them and result in a degree of bounce in the beam as the bracket flaps in the wind. A common issue with plastic brackets is the “whip effect,” where flexing causes the beam to bounce, especially in pencil-beam lamps.
- Die Cast: Are cheaper, but relatively brittle making them one of the prime culprits for breakage. These brackets are usually made of aluminium, eliminating much of the concern around rust and corrosion. However, rust is the last of your worries if the unit is now smashed to smithereens. However, they are prone to failure when exposed to corrugated roads, and their durability can depend on whether they are side- or base-mounted.
- Stainless Steel: While more expensive, is usually the sturdiest and safest option to keep your lights firmly in place for the long haul. Stainless brackets regularly come in a range of thicknesses from 1mm-4mm. As a general rule, the thicker the bracket, the better, however, quality of the materials and construction will play a significant part here. A 2mm product might give you the same security as a 4mm if it’s well designed and manufactured.
When using any of these materials, be sure to check that the manufacturer’s warranty covers not only bracket failure but also any damage to the lights caused by broken mounts. Warranties often overlook this, leaving you unprotected in the event of damage.
LED Light Bar Mounts
A dodgy mount can spell disaster for your light bar, so it’s critical that you find the optimal solution.
The key here is not simply the strength of the mount itself. Minimize the number of holes drilled into your bull bar, as each hole creates a potential point of weakness and rust. Opt for mounting systems that use existing holes wherever possible
The two most common options are side mount (fixed points) or base mount, which gives you more versatility in mounting hole positions.
Fixings
An often-overlooked component, the nuts and bolts used to secure your lights to the vehicle are a critical part of the equation. Most light suppliers will provide you with the fixings, however, it is well worth checking them to ensure that they pass muster before trusting your investment to their holding power. As with the brackets, mild steel comes with significant risks that are probably better avoided in favour of stainless, which will last longer and is less likely to rust. It’s a wise idea to utilise some Loctite threadlocker to ensure that your fixings stay well fastened no matter what you throw at them. If you are using a stainless bolt, couple it with a galvanised nut to avoid the two stainless surfaces binding to each other. If you do end up using stainless on stainless, a simple drop of oil on the thread should do the trick.
Mounting Your LED Lights
The critical thing to remember here is that you’re complying with the state laws regarding the mounting LED lights. Keep in mind that these regulations can differ from state to state, so you’ll need to be extra careful if you’re planning on taking your vehicle interstate.
From a practical perspective, your primary consideration here is weight. Your OE bull bars or nudge bars will usually stipulate that additional after-market lamps not exceed 1kg. Fitting heavier lights may not only void your warranty; it can lead to them tearing off the car, which never ends well for anyone. This is less of a problem for light bars compared to spotlights, as bars are usually lighter and spread their weight across a wider area. Nevertheless, you still want to make sure that you fit the lights without any contact with the uprights, otherwise, you’ll end up cutting through the bull bar coating and create a potential rust point.
